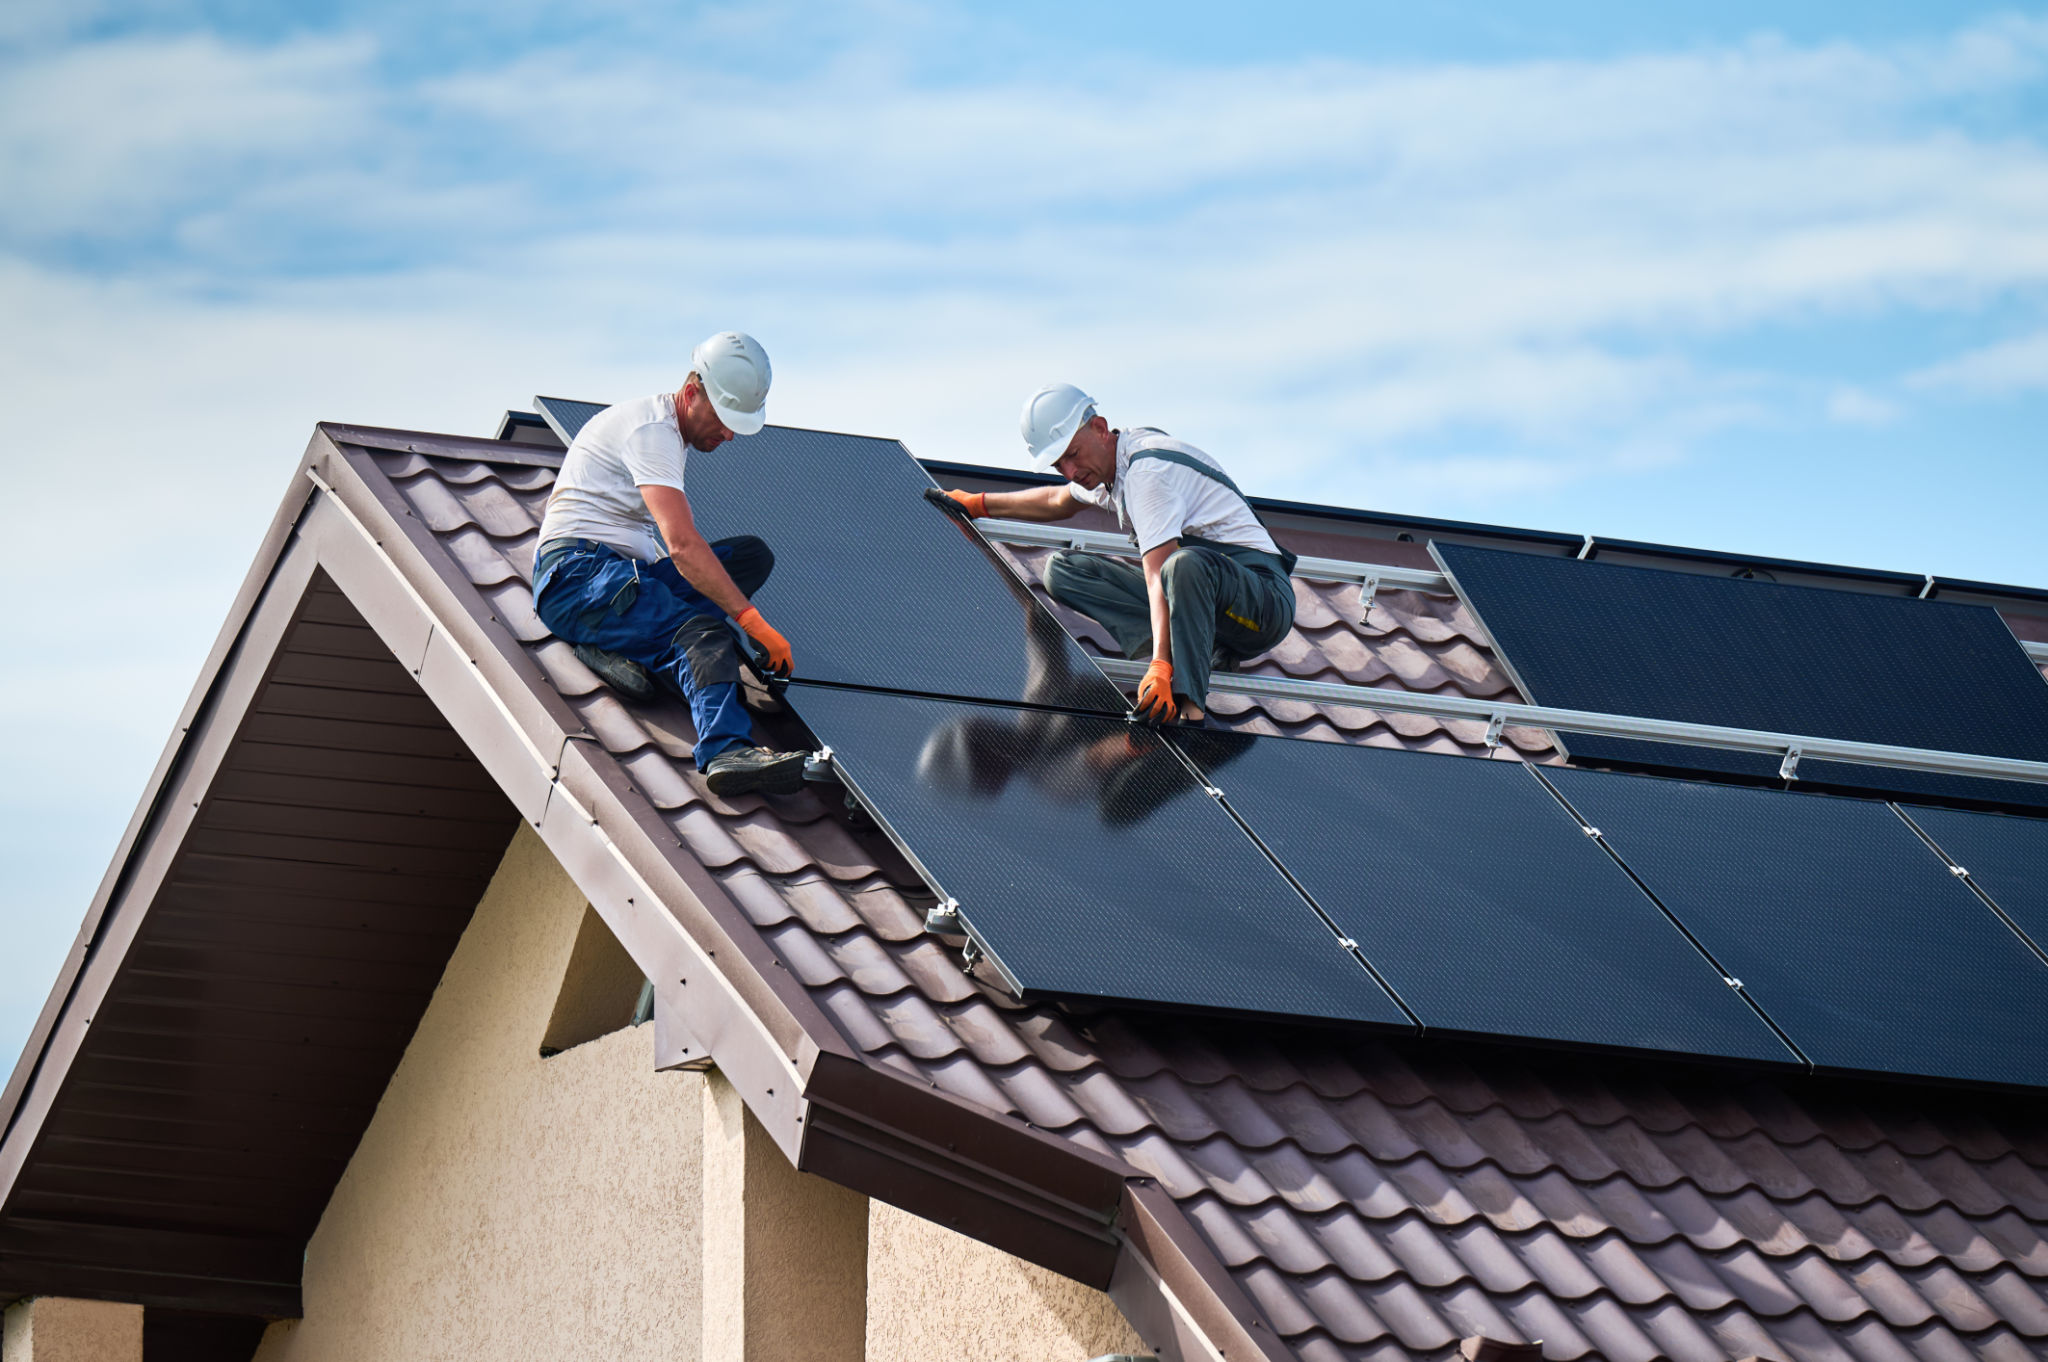
Installing Solar Panels: A Step-by-Step Guide for Homeowners
Why Consider Solar Panels?
As energy costs rise and environmental concerns grow, many homeowners are turning to solar panels as a sustainable solution. Not only do they reduce electricity bills, but they also decrease your carbon footprint. By installing solar panels, you can harness the power of the sun to power your home efficiently and responsibly.

Assessing Your Home's Solar Potential
Before proceeding with installation, it's crucial to assess whether your home is suitable for solar panels. Consider factors such as roof orientation, shading, and the amount of sunlight your home receives throughout the year. A south-facing roof with minimal shading typically offers the best conditions for solar energy generation.
Conducting a Professional Assessment
While you can perform a basic assessment yourself, hiring a professional is recommended for a comprehensive evaluation. They can provide insights into the optimum panel placement and estimate potential energy savings. This step ensures you make an informed decision about your investment.
Selecting the Right Solar Panels
With various types of solar panels available, choosing the right one can be overwhelming. The most common types are monocrystalline, polycrystalline, and thin-film panels. Each has its own advantages and disadvantages regarding efficiency, cost, and appearance.

Understanding Your Energy Needs
To select the best panels for your home, it's essential to understand your energy consumption patterns. Review your electricity bills to determine your average usage. This information will help you decide how many panels you need and guide your choice of panel type and size.
Installation Process
Once you've selected your solar panels, it's time to move on to the installation process. While professional installation is often recommended for safety and efficiency, some homeowners choose to install panels themselves if they have the necessary skills.

Steps to Install Solar Panels
- Mount Installation: Securely attach mounts to your roof to support the solar panels.
- Panel Placement: Carefully place the panels onto the mounts.
- Wiring: Connect the solar panels to your electrical system using appropriate wiring.
- Inverter Connection: Connect the inverter, which converts solar energy into usable electricity.
- Testing: After installation, test the system to ensure everything is functioning correctly.
Maintenance and Monitoring
After installation, regular maintenance and monitoring are essential to keep your solar panels operating at peak efficiency. Clean the panels periodically to remove dirt and debris that may reduce energy absorption. Additionally, monitor your system's performance to identify any issues early on.
By following this step-by-step guide, homeowners can successfully install solar panels and enjoy the benefits of renewable energy. Whether you choose professional or DIY installation, understanding each stage of the process is key to maximizing your investment in solar technology.
